
Wiring of Solar Lamp Beads
Solar lamp beads are an essential component of solar-powered lighting systems. Properly connecting the lamp beads is crucial for ensuring the optimal performance and longevity of the lighting system. In this article, we will provide a detailed guide on how to wire solar lamp beads for installation.

Step 1: Gather the necessary tools and materials. Before you begin wiring the solar lamp beads, make sure you have all the required tools and materials. This may include wire cutters, wire strippers, soldering iron, solder, and of course, the solar lamp beads.
Step 2: Prepare the wires. Start by preparing the wires that will connect the solar lamp beads. Use the wire cutters to cut the wires to the appropriate length, and then use the wire strippers to remove a small section of insulation from each end of the wires.
Step 3: Solder the connections. Use the soldering iron and solder to make the connections between the wires and the lamp beads. It's important to ensure that the connections are secure and that there are no loose or exposed wires that could cause a short circuit.
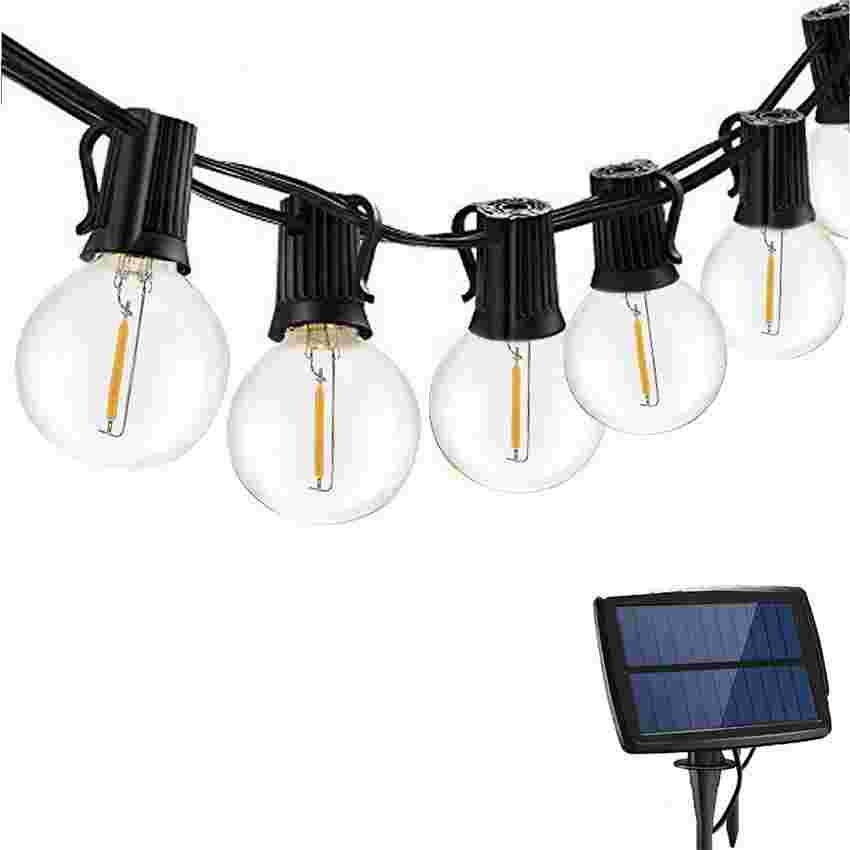
Step 4: Connect the lamp beads to the power source. Once the lamp beads are properly wired, they can be connected to the power source, such as a solar panel or battery. Make sure to follow the manufacturer's instructions for proper installation and wiring.
Step 5: Test the connections. After the lamp beads are wired and connected to the power source, it's important to test the connections to ensure that the lighting system is functioning properly. If there are any issues, double-check the connections and troubleshoot as needed.
Properly wiring solar lamp beads is essential for ensuring the reliable and efficient operation of solar-powered lighting systems. By following the guidelines outlined in this article, you can install and wire solar lamp beads with confidence, knowing that your lighting system will provide reliable illumination for years to come.


viber

skype

whatApp

telegram
 Chinese
 English
 Arabic
 France
 Spain
Spain
 Portugal